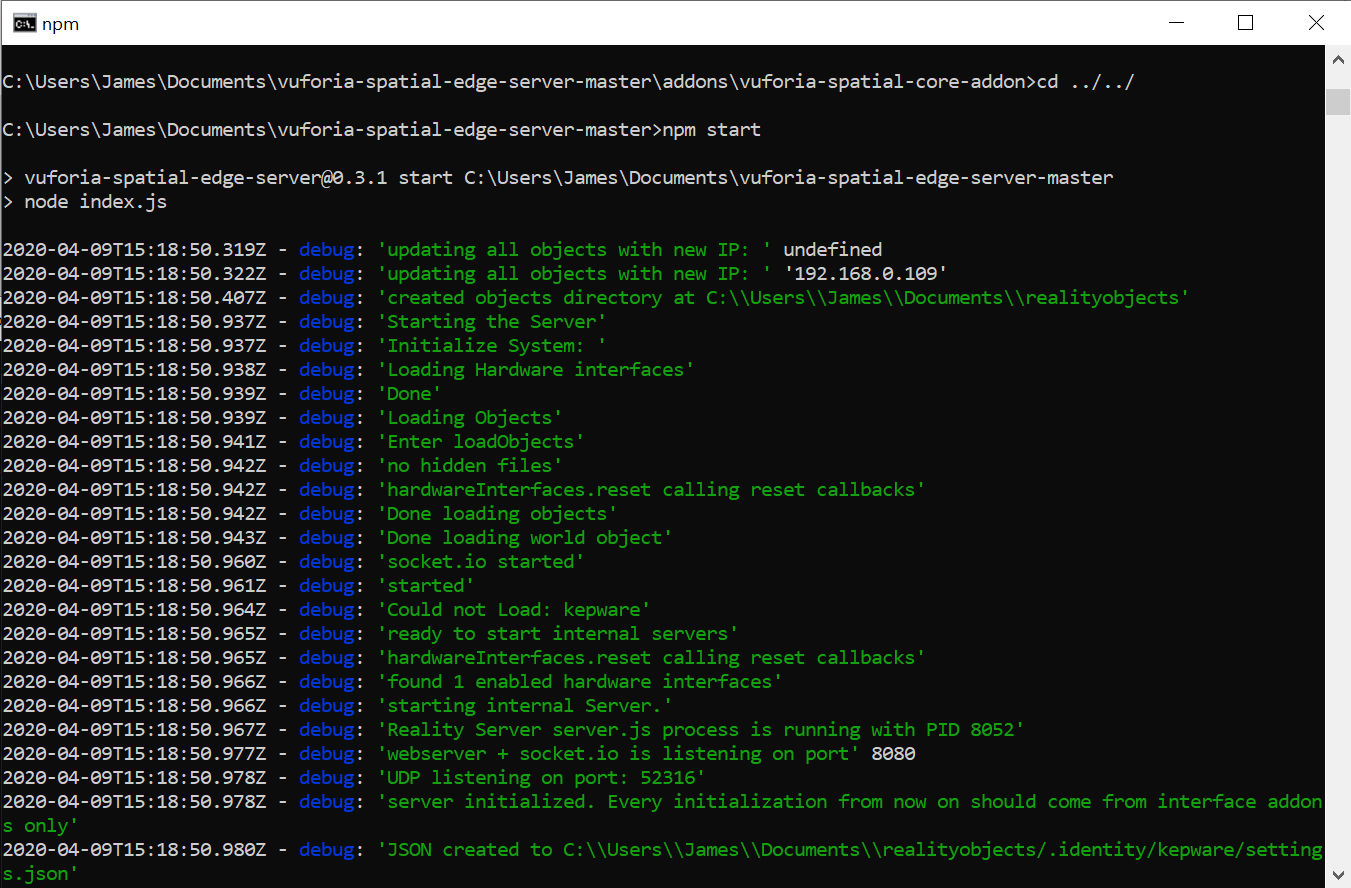
Starting the Vuforia Spatial Edge Server on Windows
Install Node
Follow the instructions on Node’s website to install node and npm:
https://nodejs.org/en/. Make sure to click the
checkbox to install Chocolatey during the setup process. If installation
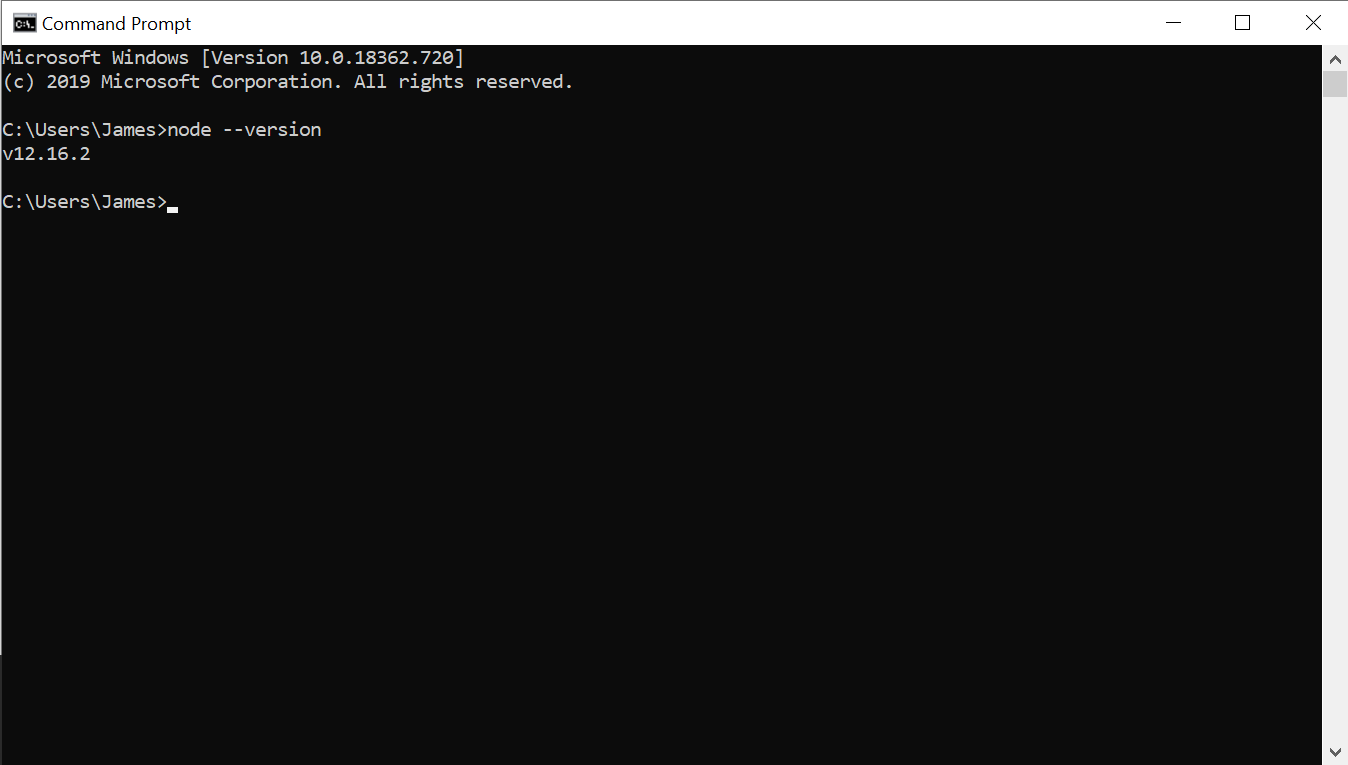
succeeded, you’ll be able to open Command Prompt and run node --version:
Get the Edge Server
Install GitHub Desktop (Optional)
Follow the instructions on GitHub’s website to install the GitHub desktop app. Open it up and sign in to get started.
Download Edge Server
With GitHub Desktop
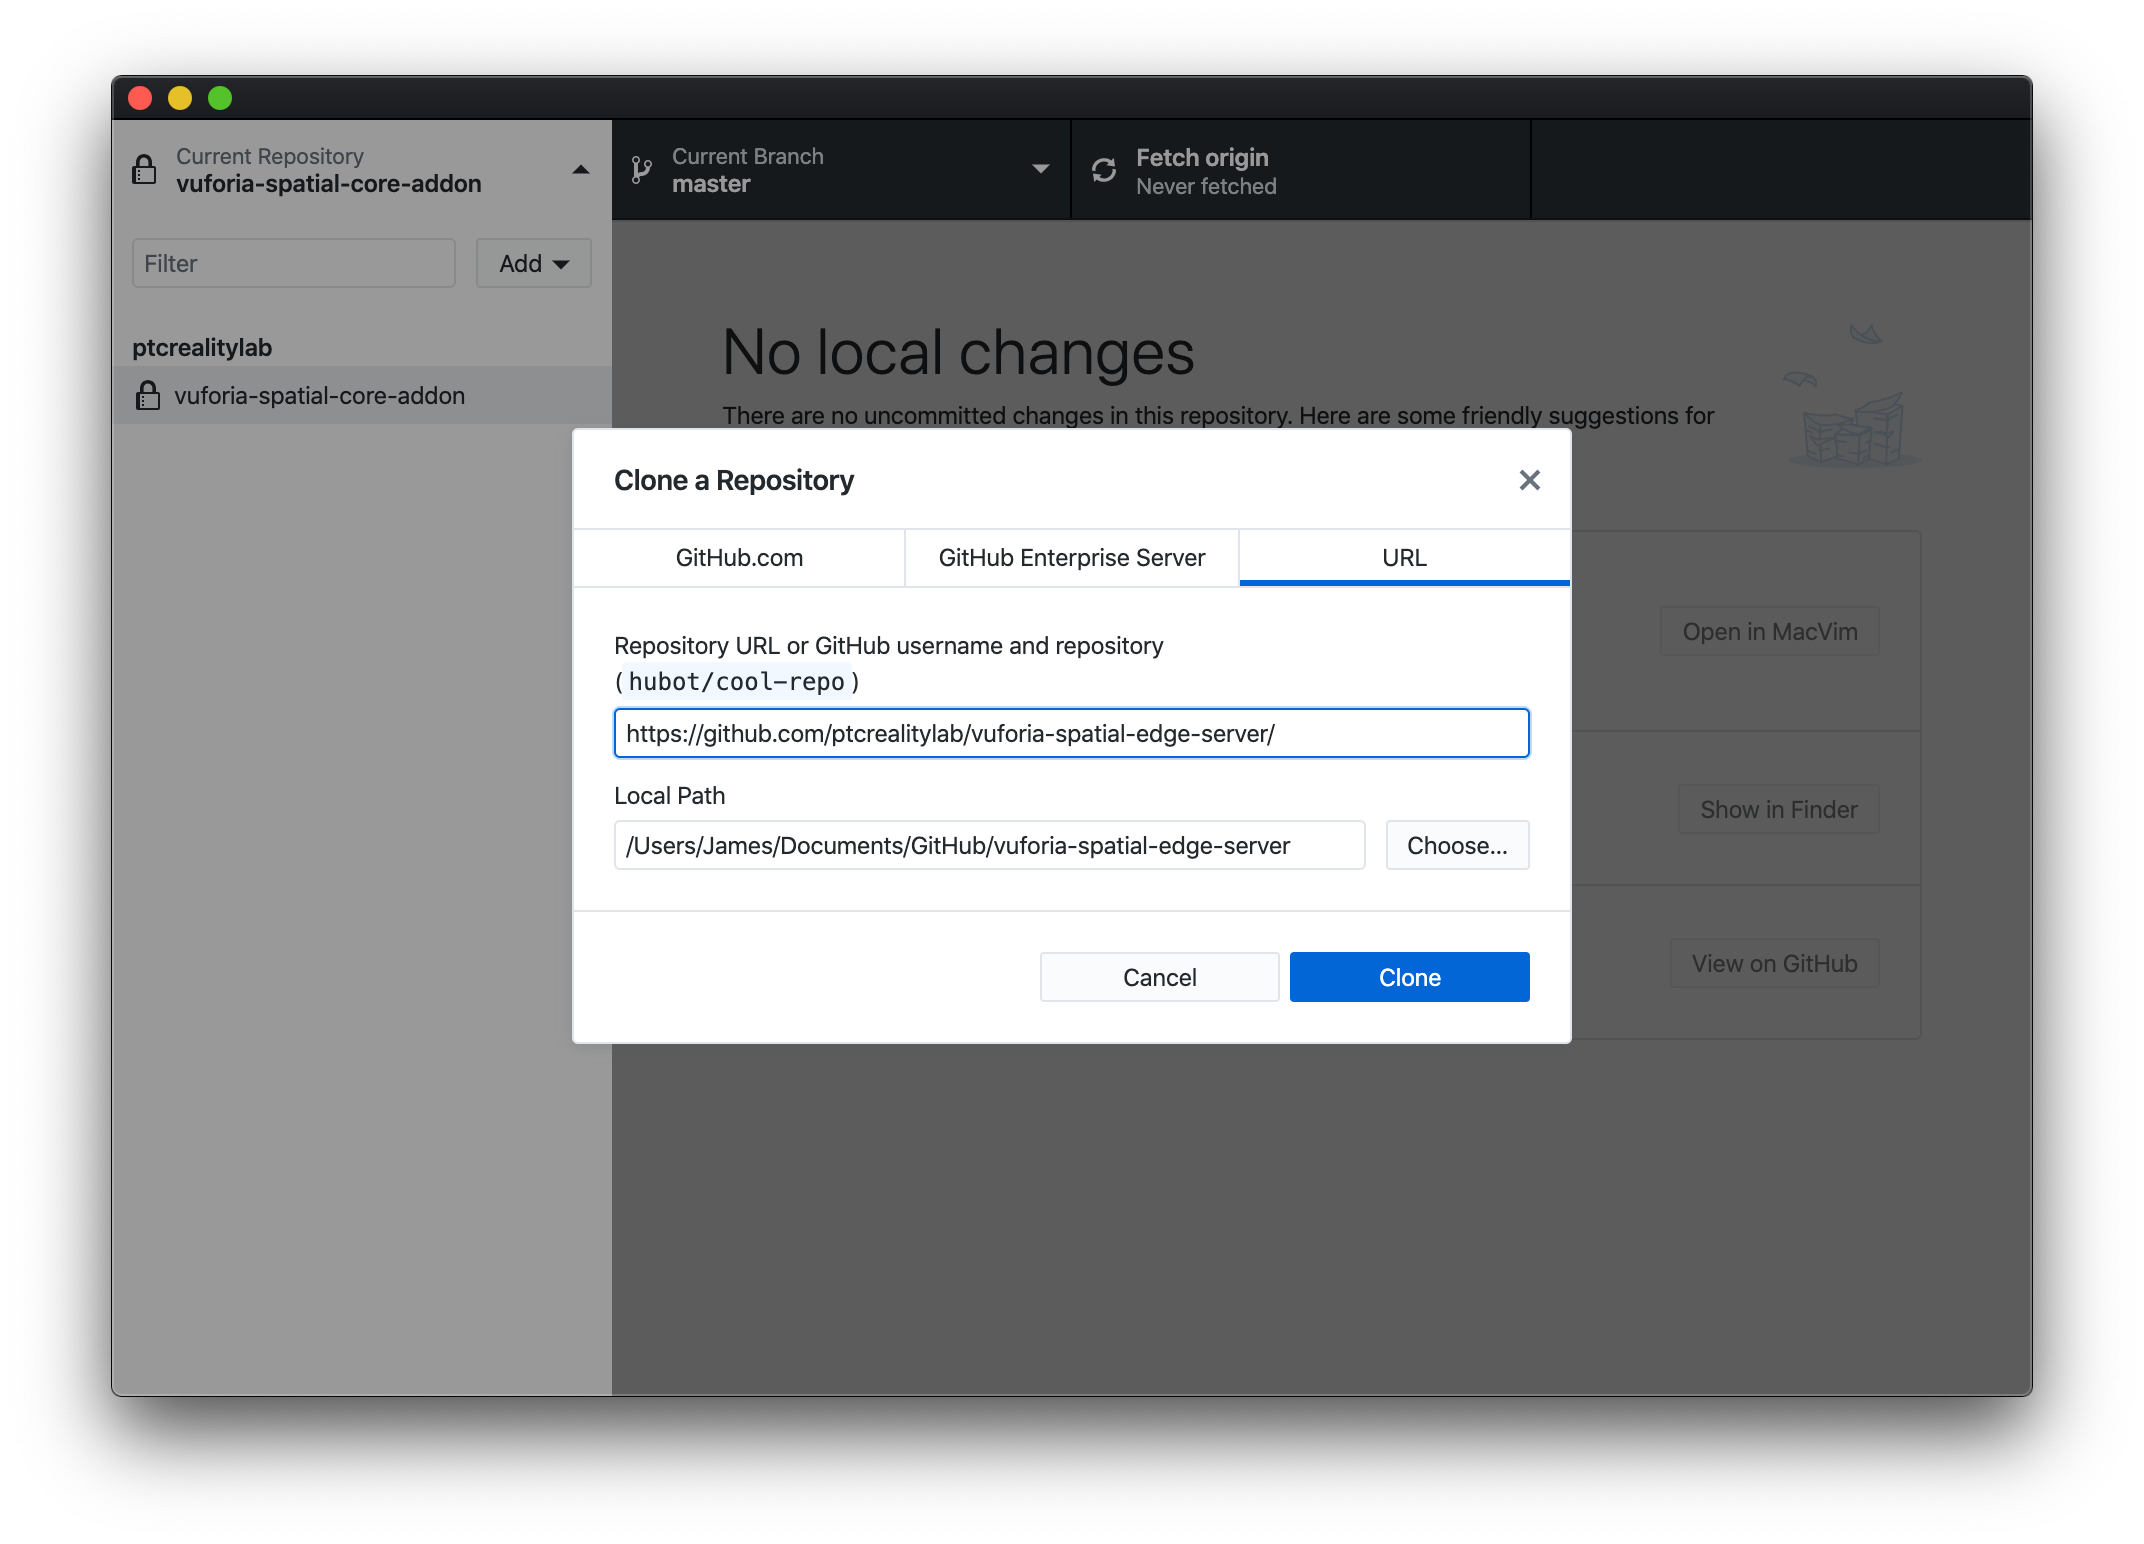
In GitHub Desktop select Clone Repository (under the “Add” menu if the button isn’t immediately visible). Once there, paste the edge server’s repository url, https://github.com/ptcrealitylab/vuforia-spatial-edge-server/ and click Clone.
With a Browser
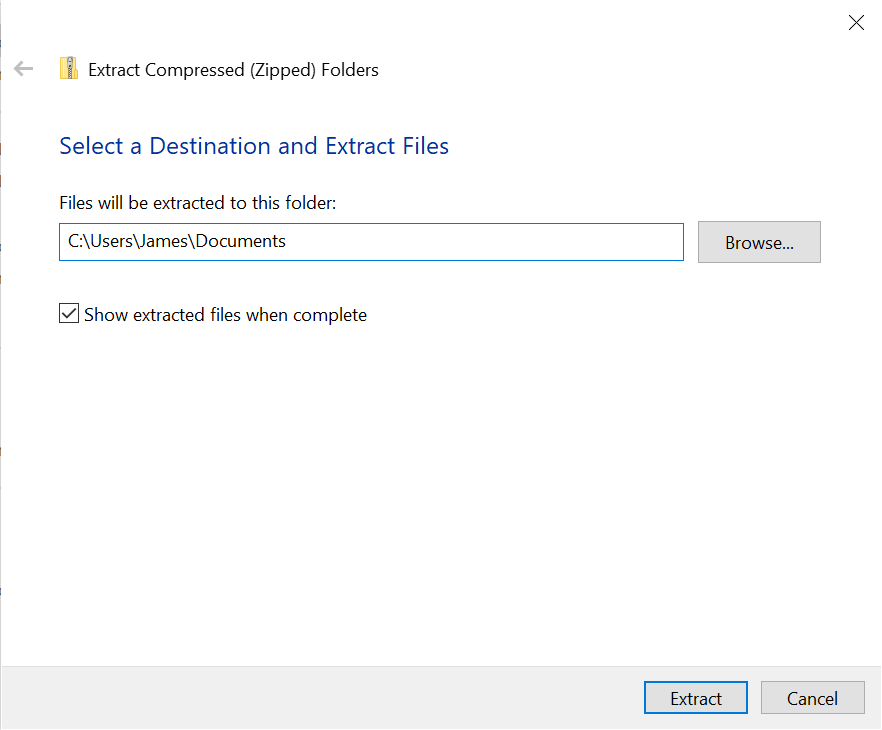
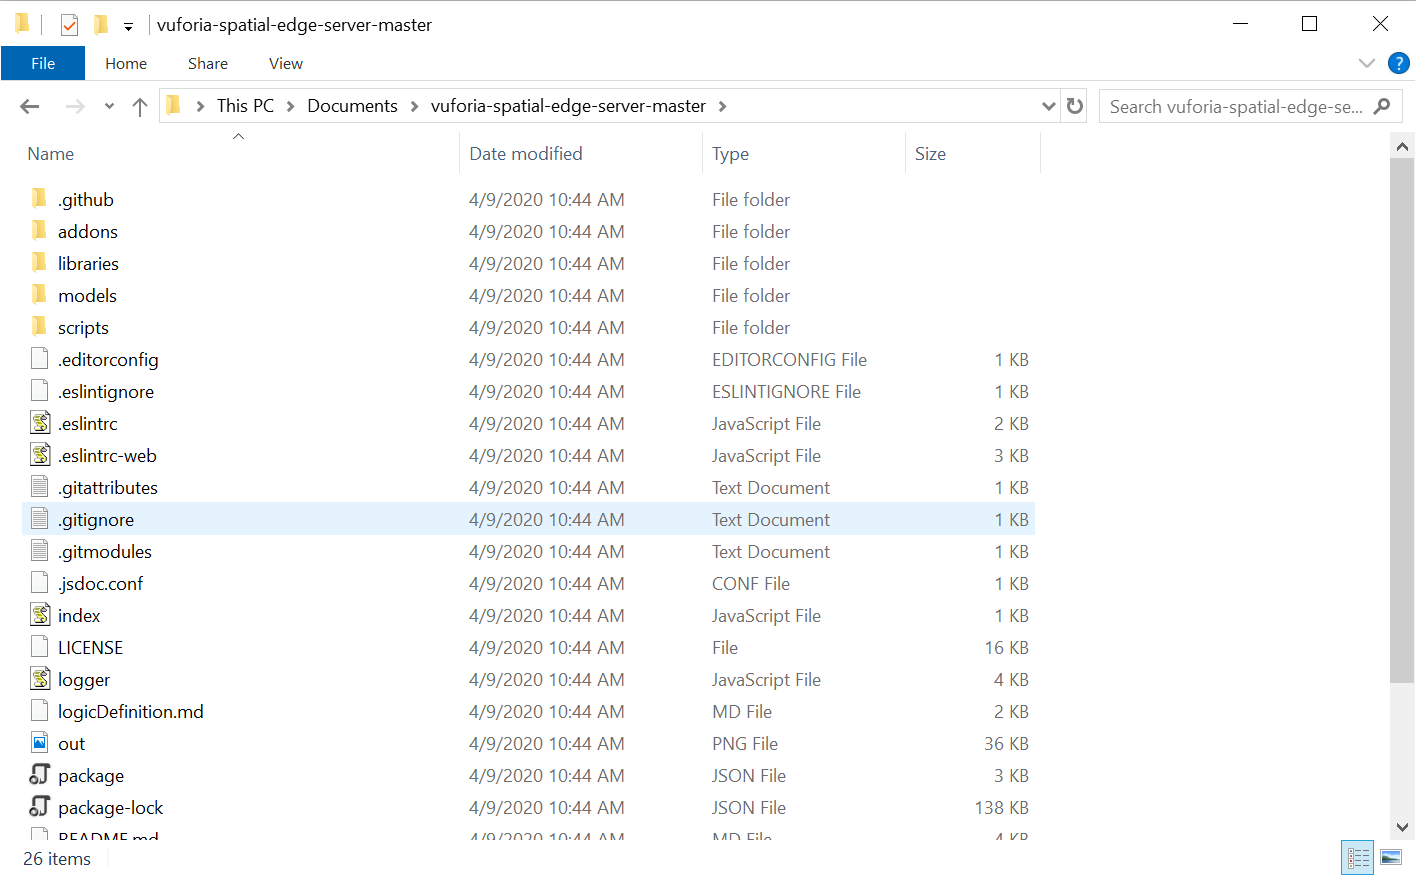
Download the current source code from this link and unzip it. In the following example I’ve unzipped it then moved it into my Documents directory:
Install Dependencies
Track down the Edge Server directory from the previous step in Command Prompt
or PowerShell. If you put the edge server in your Documents directory and kept
the default name vuforia-spatial-edge-server, you can get to it with the
command cd C:\Users\{your username}\Documents\vuforia-spatial-edge-server.
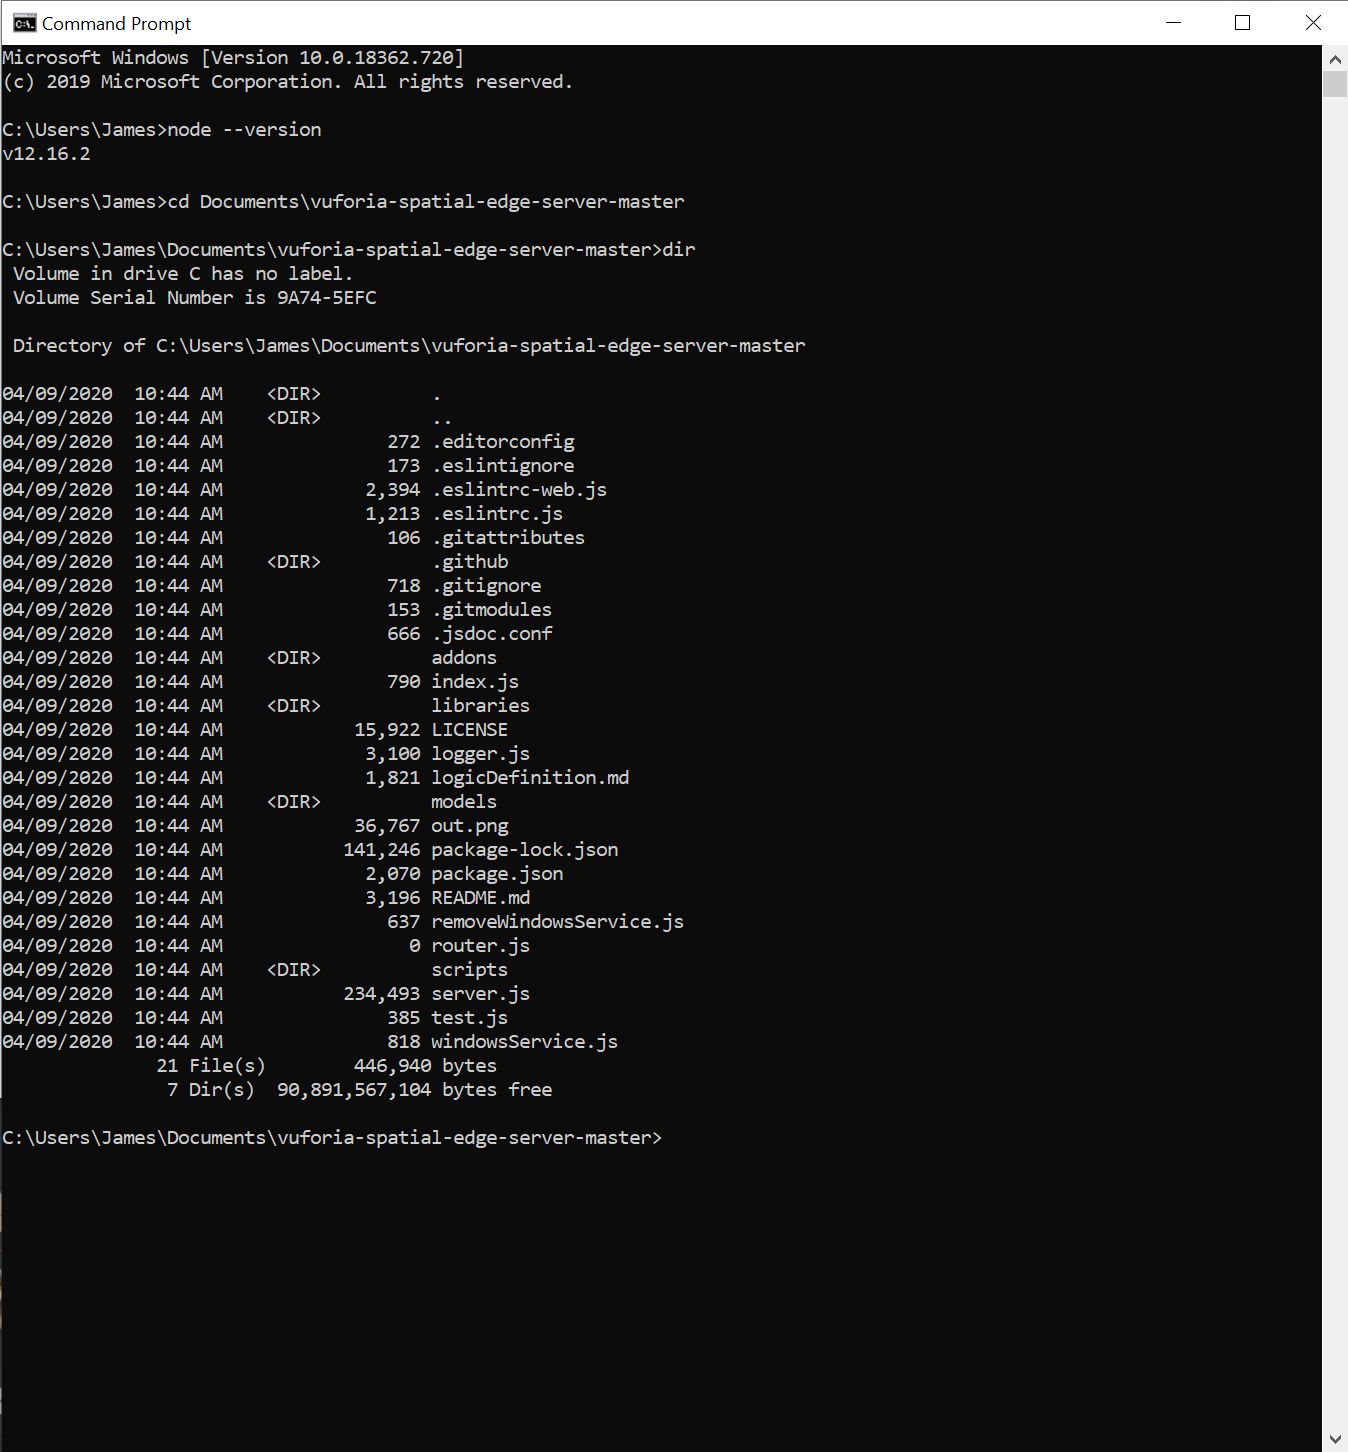
Once you’re in the correct directory, you can confirm this with the command
dir which should output something close to the following:
Now that you’ve confirmed that you’re in the right location you can run the
command npm install.
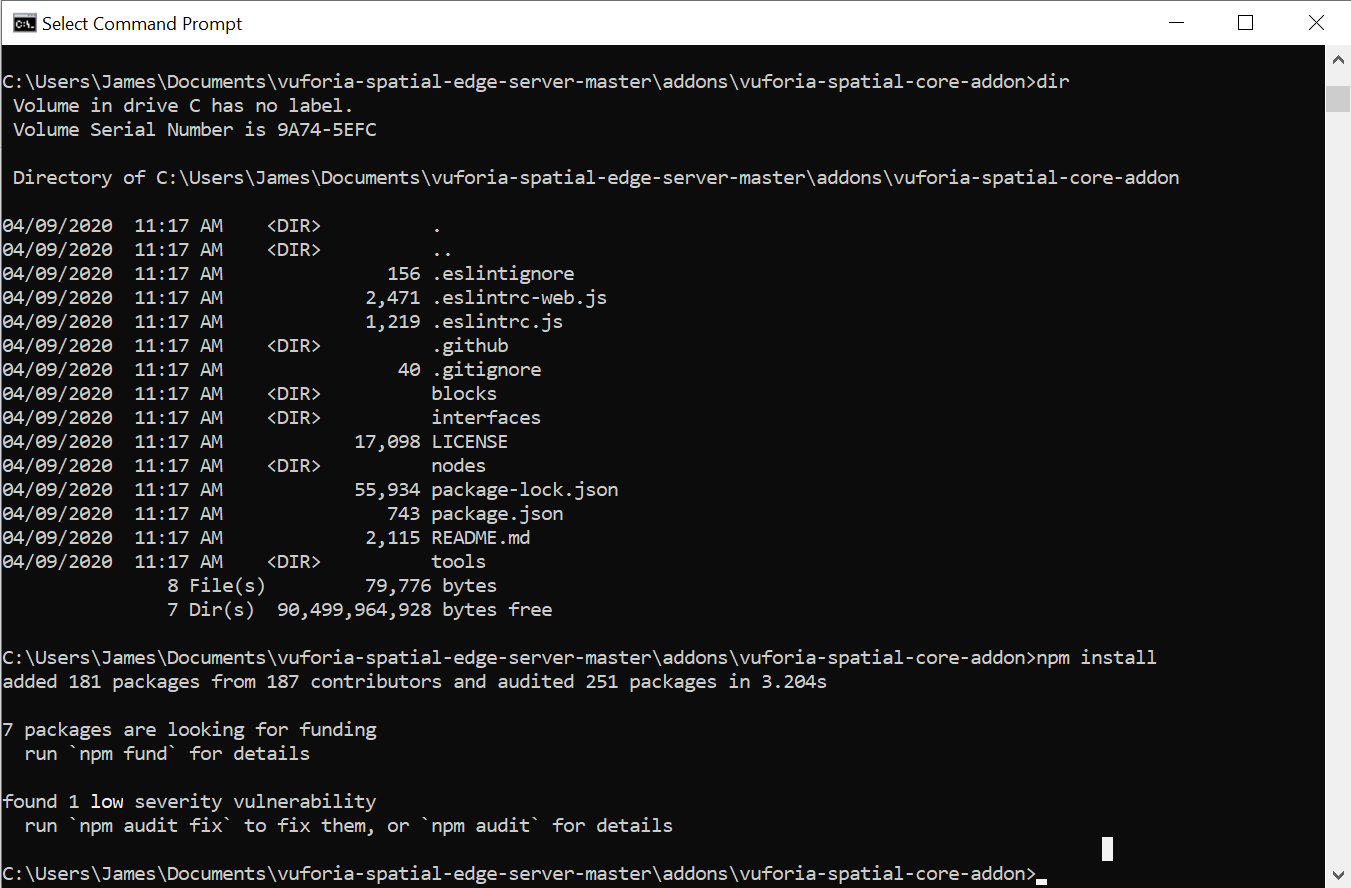
We also need to install the dependencies for the core add-on. In the edge
server directory, run cd addons/vuforia-spatial-core-addon to get into the
core add-on’s main directory. Here you can run npm install again to install
the core add-on’s specific dependencies.
Start the Edge Server
Now, return to the edge server’s directory by running cd ../../. You can
confirm you’re in the correct directory by running dir again. Now you’re here,
you can run npm start to start the server.
